How to Handle the Creases in the Wallpaper?
Creases are inevitable when putting up a wallpaper. But they can kill the look and grace of the wallpaper. Once the wallpaper dries down, it is almost impossible to remove them.
Reason for Wrinkles
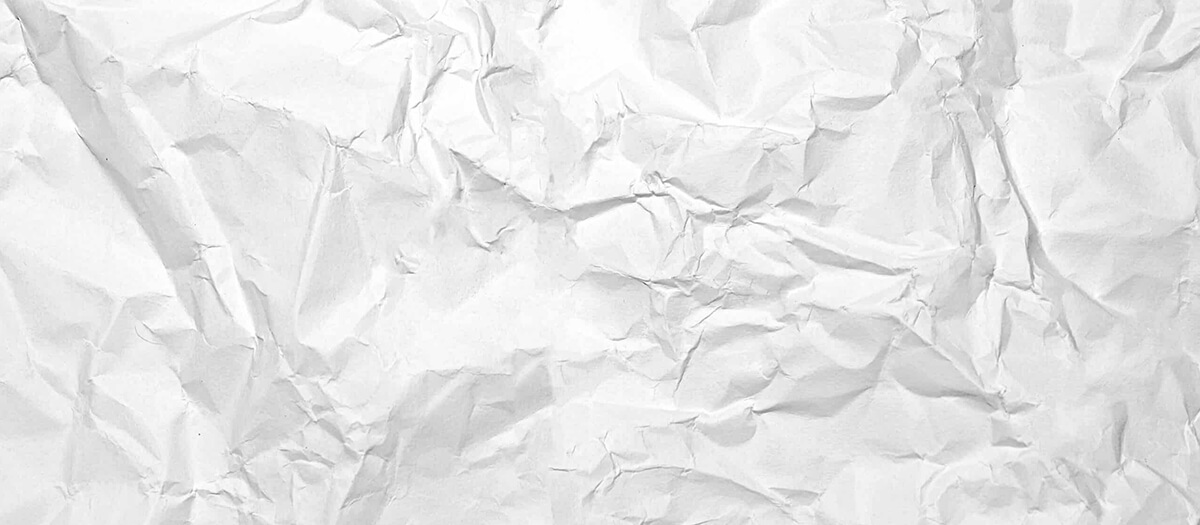
Basically there are many reasons for creases on the wallpaper. In this blog we will discuss all the reason and their solutions for these creases in details.
#1 Wrong approach/Incorrect technique while installation
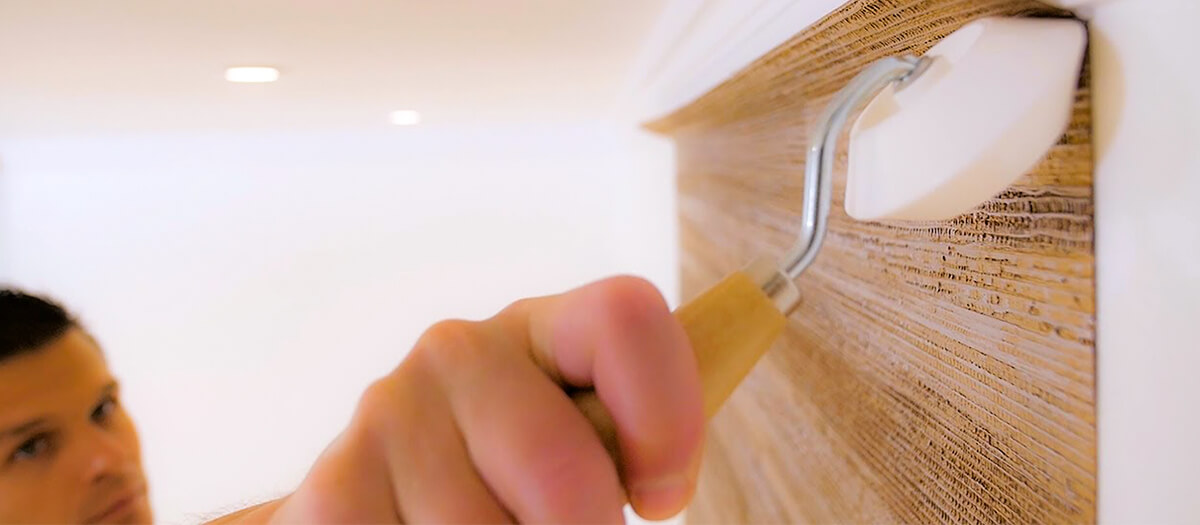
Wallpapers should be installed very neatly and slowly. The right amount of pressure should be applied evenly to avoid any budge out, wrinkle, bubble or crease. Normally ‘creases’ happen when a large wallpaper is installed on the wall and the glue is dried too quickly. The thumb rule to avoid this is, install only smaller lengths of wallpaper in sections, and smooth out immediately. The direction of smoothing out is also significant. Always work from top to bottom and right to left. Slow pasting and right tools is very crucial. Rubber roller for soft, delicate or thin surfaces. Smooth spatula for bigger surfaces.
#2 Installing new wallpaper on an old one or uneven surface
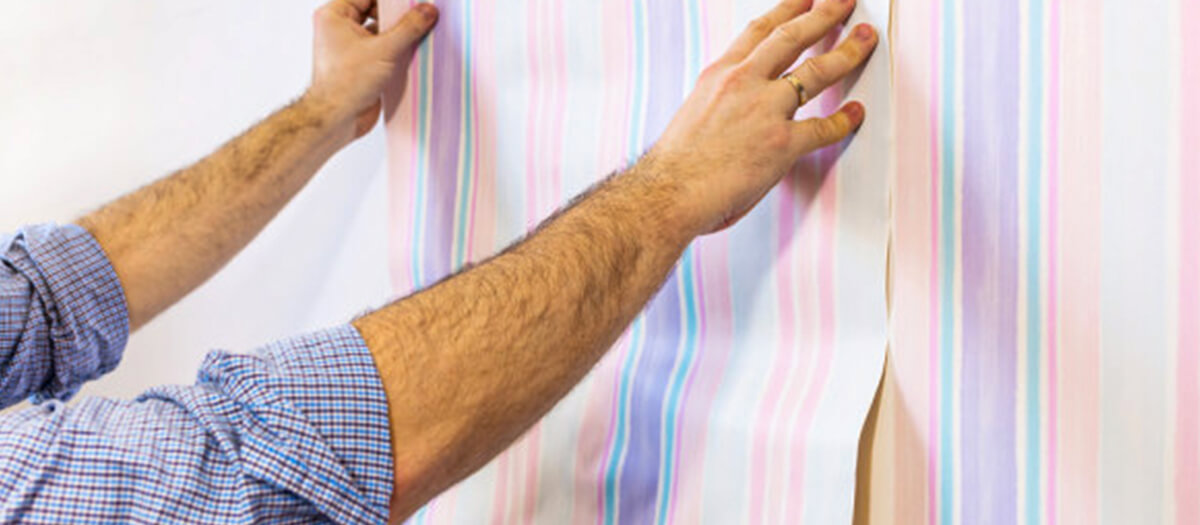
At time, due to less time, a new wallpaper is installed over an old one or when the surface is not clean or even out perfectly. Now this will surely cause a problem. The old wallpaper will get moist and will start to expand underneath developing wrinkles and creases. Similarly, uneven surfaces are not a good base for wallpaper installation. The uneven surface will root-out and poke the wallpaper creating wrinkles, bubbles.
#3 Insufficient soaking time for wallpapers
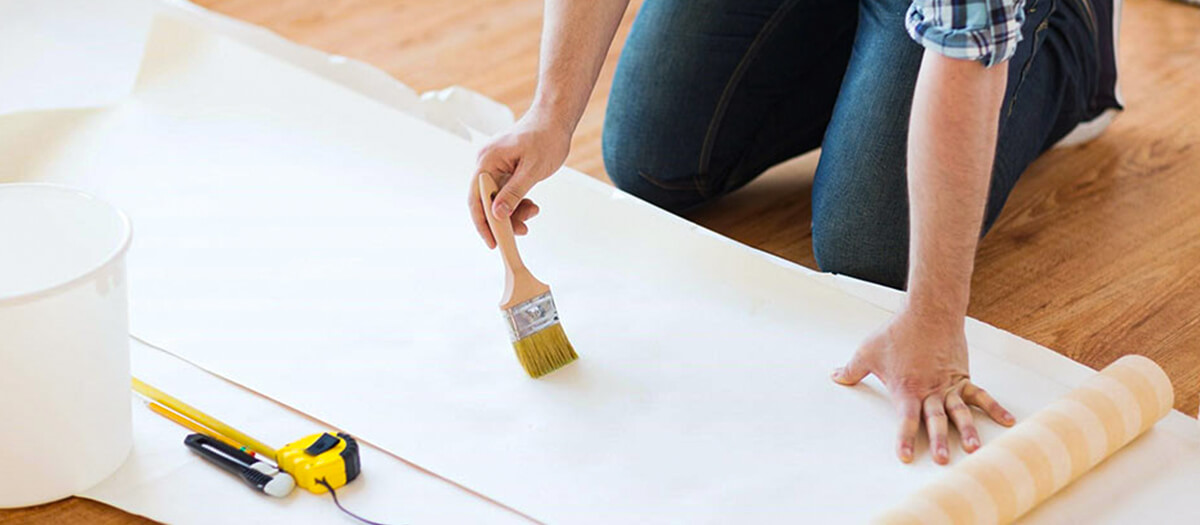
This is for paper wallpapers mainly. Paper wallpapers need a specific time to soak in before installation on the wall. This is the time when wallpapers start expending as well. This is normal. Give your wallpaper the sufficient soaking time and let it expand to the limit and then install.
How to avoid creases?
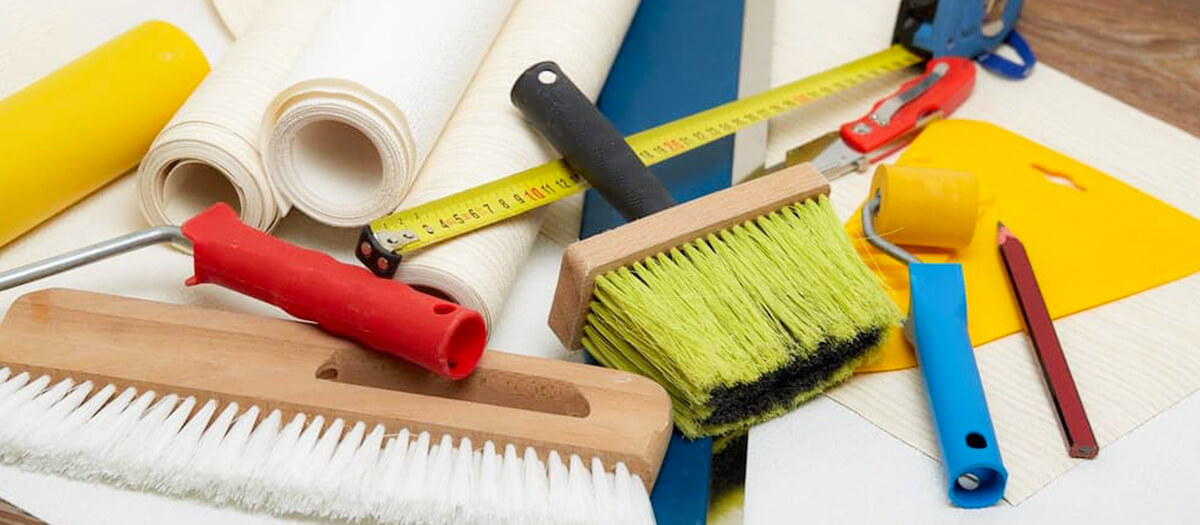
Let’s have a quick recap of important points to have a crease-free wallpaper installation:
- The surface needs to be dry, clean, even, stable, and absorbent
- Whenever possible, remove old wallpaper first
- For each individual length of wallpaper, stick to the soaking time stated on the insert label
- Thoroughly and slowly press on and smooth out each length individually, from top to bottom and right to left
For all you requirements of designer wallpapers for home, wallpapers for living room, wallpapers for kitchen, kids room, hotel room, restaurant, café, office and almost every space, ultrawalls.com is here.


