
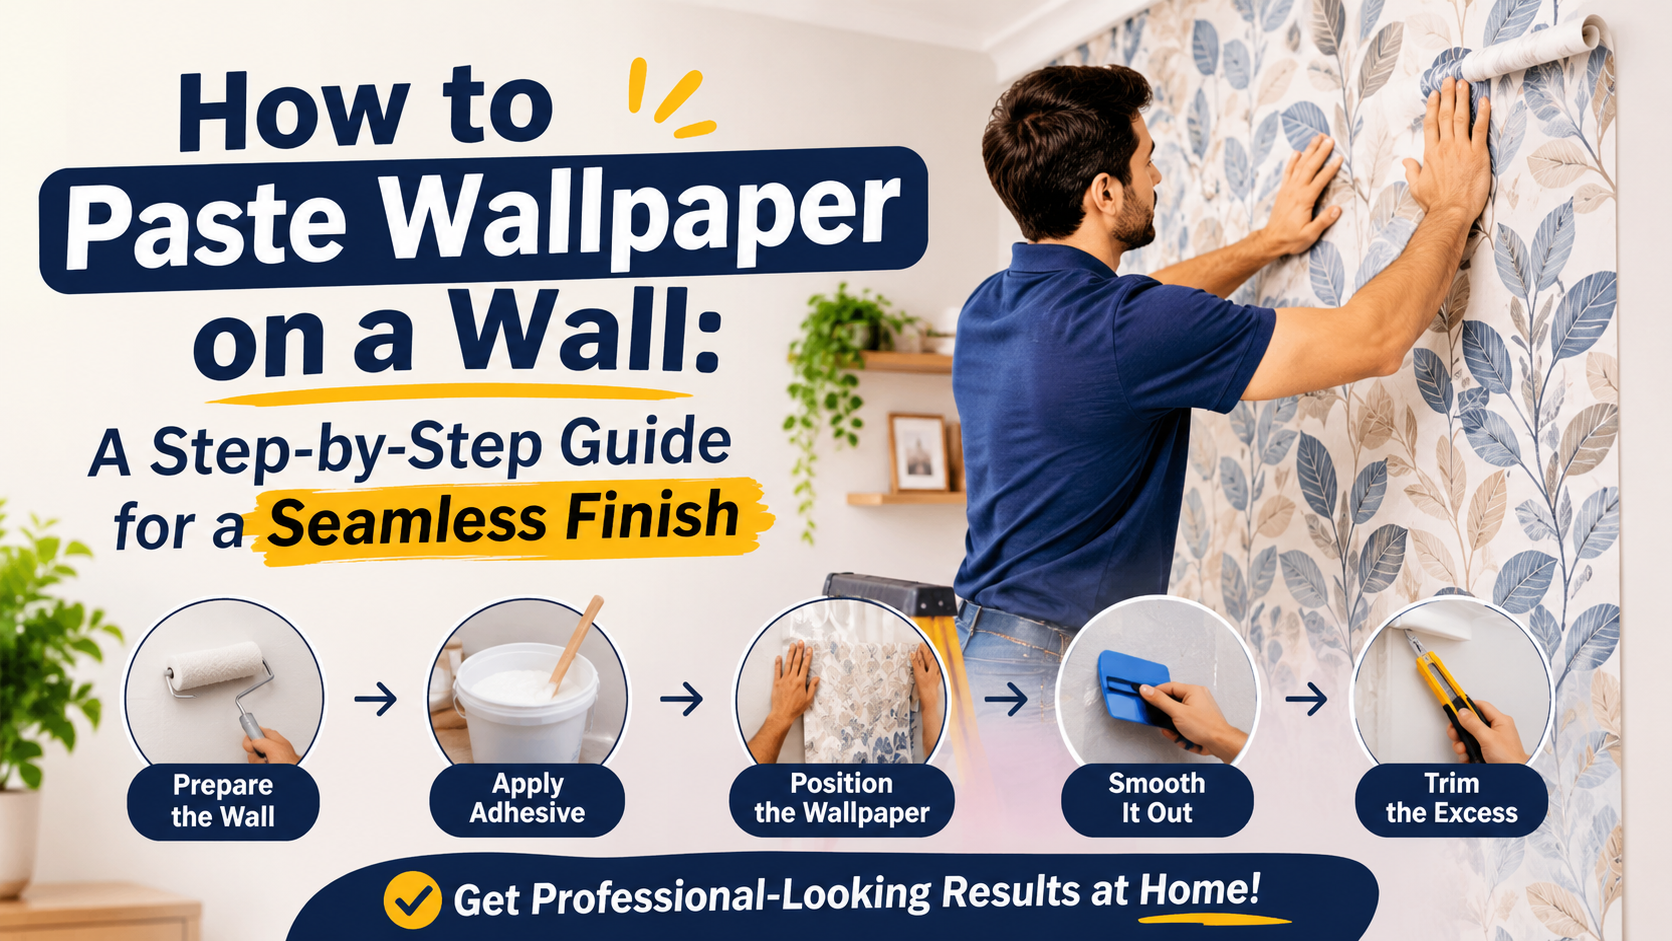
How to Paste Wallpaper on a Wall: A Step-by-Step Guide for a Seamless Finish
Installing wallcoverings yourself—or overseeing an installer—is one of the fastest ways to transform a room with texture, color, and depth. Whether you are working with patterned sheets or modern non-woven rolls from UltraWalls, getting a bubble-free, crisp seam finish comes down to preparation, accurate pattern matching, and using the right adhesive technique for your roll type.
Essential Tools and Materials Checklist
Before you unroll a single sheet, gather your supplies so you do not have to stop mid-paste once adhesive is active:
- Wallpaper rolls (matching batch/lot number and serial number)
- Wall putty or POP (Plaster of Paris), sandpaper, and a damp cloth
- CMC (Carboxymethyl Cellulose) adhesive powder and PVA wood/craft adhesive (such as Fevicol) for stronger bonding
- Mixing bucket, measuring cup, and stir stick
- Measuring tape, pencil, utility knife/snap-off blade, and straightedge
- Spirit level (or plumb line) for true vertical alignment
- Wallpaper smoother (or soft felt/plastic smoothing tool) and a clean damp sponge
Step-by-Step Guide: How to Paste Wallpaper on a Wall
Step 1: Verify Batch, Lot, and Serial Numbers
Before opening or cutting any rolls, inspect the labels on every roll in your order. Confirm that the serial number and lot number (batch number) match across all rolls. Dye lots can vary slightly between production runs, and matching lot numbers ensures consistent color and pattern tone across the entire wall. If you spot a mismatch, contact support before cutting so you can exchange it.
Step 2: Inspect and Prep the Wall Surface
A wallpaper finish is only as smooth as the surface underneath. Examine the wall carefully for dents, nail holes, cracks, or uneven patches.
- Fill any holes or rough spots with POP or wall putty, let it dry completely, and sand it flush with the surrounding wall.
- Wipe away dust, grease, and loose flakes so the adhesive can bond cleanly.
- Make sure the wall is dry, cured, and free of active dampness or flaking paint.
Step 3: Understand Roll Sizing and Cut with Extra Allowance
Check the width of your rolls before measuring. Standard rolls are typically 21 inches wide, while jumbo rolls are around 42 inches wide. Measure your wall height at several points (since ceilings and floors are not always perfectly level) and cut each sheet leaving 2 to 3 inches of extra length at the top and bottom for clean trimming later.
Step 4: Match the Pattern Before Cutting Subsequent Sheets
Do not cut every strip blindly to the exact same mark without checking the design repeat. Line up the next section of the roll beside your first cut strip to match the pattern—whether it is a straight match, offset/drop match, or continuous motif. Once the design aligns cleanly, mark and cut the sheet with your 2-to-3-inch top and bottom trim allowance.
Step 5: Mix CMC Powder and Fevicol for Strong Adhesion
Prepare your paste in a clean bucket:
-
Slowly add CMC powder into water while stirring continuously until it reaches a thick, smooth consistency without lumps. Allow it to hydrate as recommended on the packet.
-
Blend Fevicol (PVA adhesive) into the mixed CMC paste to strengthen bonding, especially along edges, corners, and textured or slightly less porous surfaces.
Step 6: Apply Adhesive Based on Wallpaper Type
Application differs depending on whether you are hanging standard wallpaper or non-woven wallpaper:
- Standard wallpaper: Apply the adhesive evenly to both the back of the wallpaper sheet and the wall. Giving both surfaces a proper coat helps prevent edges from lifting as the paste sets.
- Non-woven wallpaper: Apply the adhesive directly onto the wall (working a strip or two at a time), then hang the dry strip onto the pasted wall. Always double-check your roll’s specific manufacturer instructions before applying paste.
Step 7: Hang the Sheet and Check Vertical Alignment with a Spirit Level
Position the top edge of the first sheet onto the wall with your extra 2-to-3-inch overhang at the ceiling. Use a spirit level to verify vertical alignment so your starting reference line is true. Even a slight tilt on the first strip will compound across the rest of the wall. Butt subsequent sheets cleanly edge-to-edge without overlapping unless the manufacturer specifies an overlap-and-cut seam.
Step 8: Smooth Out Air Bubbles from Top to Bottom
Take a wallpaper smoother and work gently from top to bottom and from the center outward toward the edges to push out trapped air bubbles and excess adhesive. Wipe away any paste that squeezes out at the seams using a clean, slightly damp sponge so it does not leave glossy spots when dry. Once the sheets are set, trim the top and bottom excess cleanly with a sharp blade along a straightedge.
Quick Comparison: Standard vs. Non-Woven Pasting
| Feature | Standard Wallpaper | Non-Woven Wallpaper |
| Common Roll Widths | Standard (21 in) / Jumbo (42 in) | Standard (21 in) / Jumbo (42 in) |
| Where Adhesive Goes | Back of wallpaper + wall | Wall only (typically) |
| Cutting Allowance | +2 to 3 inches top & bottom | +2 to 3 inches top & bottom |
| Finishing Action | Smooth top to bottom; wipe seams | Smooth top to bottom; wipe seams |
Common Wallpaper Pasting Mistakes to Avoid
- Skipping lot-number checks: Mixing lots can cause noticeable shade shifts between adjacent panels.
- Pasting over uneven plaster: Small bumps or pits telegraph through thin wallcoverings.
- Cutting all sheets without checking repeat: Pattern shifts can waste sheets or break visual flow.
- Leaving wet paste on the face: Always wipe stray adhesive off the front surface right away so it does not stain or leave sheen marks.